
Interior painting is one of the most effective ways to refresh and elevate the atmosphere of your home. Whether you’re looking to completely transform a room or simply give it a new touch, a well-done paint job can make a world of difference. While the process may seem overwhelming, following a few simple steps can help you achieve a beautiful finish and a space you love. Here’s a step-by-step guide to help you get started on your next painting project.
1. Choose the Right Paint Colors
The first step in any interior painting project is choosing the right colors. Consider the size of the room, the amount of natural light it gets, and the mood you want to create. Lighter colors tend to make a space feel larger and more open, while darker shades can add warmth and coziness.
If you’re unsure about which color to choose, start by gathering inspiration from magazines, online sources, or even the colors already present in the room’s furniture and decor. Don’t be afraid to experiment with accent walls or a bold color palette to create contrast and depth.
2. Prepare the Room
Proper preparation is key to achieving a professional-looking finish. Start by removing furniture or covering it with drop cloths to protect it from splatters. You should also cover the floor with a drop cloth or plastic sheeting to prevent paint stains. Use painter’s tape to mask off trim, baseboards, windows, and doors for clean lines.
If the walls have any holes or imperfections, patch them up with spackle or joint compound. Once dry, sand the patched areas smooth. Clean the walls to remove dust, dirt, or grease, which can affect how the paint adheres to the surface.
3. Choose the Right Tools
Selecting the right tools for the job will make the painting process much smoother. For large, flat surfaces, use a roller for quick and even coverage. For corners, edges, and trim work, a quality angled brush is your best option. The type of paint roller you choose should match the texture of your walls—smooth walls work best with a short nap roller, while textured walls may require a longer nap for better coverage.
Don’t forget to buy a sturdy paint tray and a paint stirrer to ensure the paint is mixed evenly.
4. Prime the Walls (If Necessary)
Priming is especially important when you’re making a drastic color change or painting over surfaces that are stained or dark. Primer helps the paint adhere better and ensures the color looks even. If you’re painting new drywall, a primer will seal the surface and help the paint go on smoothly.
In most cases, a single coat of primer will suffice, but some paints now come with built-in primers, so check your paint label for any special instructions.
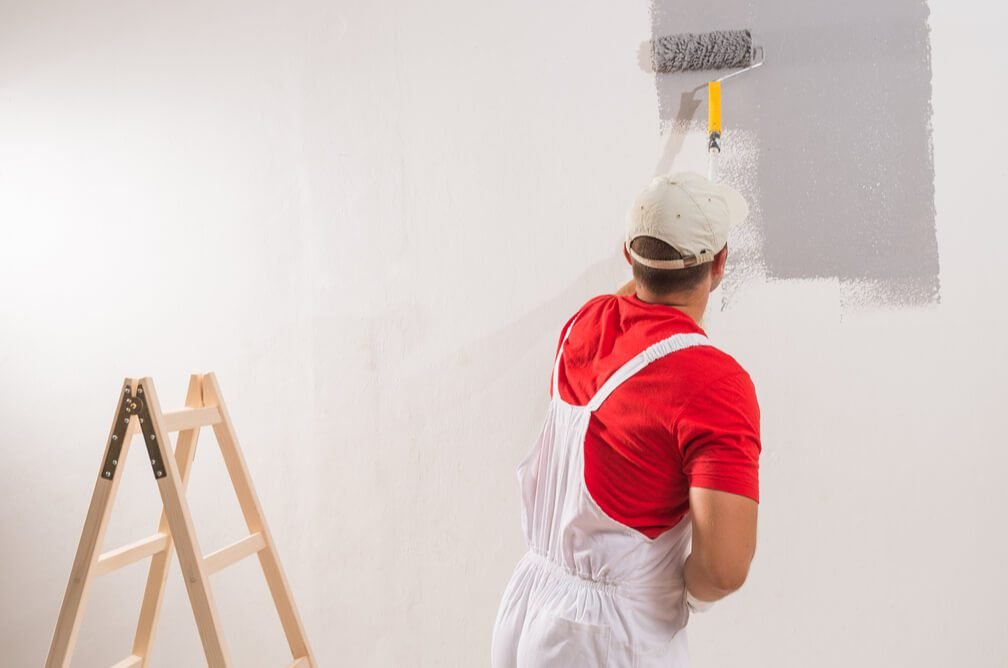
5. Apply the Paint
Once the primer is dry, it’s time to apply the paint. Begin by cutting in around the edges of the room (the corners, trim, and ceiling) using an angled brush. This will create a clean line where the wall meets other surfaces. Once the edges are done, use a roller to cover the large areas. Work in small sections to ensure even coverage and avoid roller marks. Apply the paint in a “W” or “M” pattern, which helps distribute the paint evenly.
Allow the first coat to dry completely, usually for about 2 to 4 hours, before applying a second coat for a rich and even finish. Depending on the color and type of paint, you may need more than two coats.
6. Clean Up and Touch Up
Once the paint has dried and you’re satisfied with the coverage, carefully remove the painter’s tape while the paint is still slightly tacky to ensure a clean line. Clean your brushes, rollers, and trays with warm, soapy water if you used latex paint, or with mineral spirits if you used oil-based paint.
Inspect the walls for any missed spots or imperfections. Touch them up with a small brush and allow the paint to dry thoroughly before moving furniture back into place.
7. Enjoy Your Newly Painted Space
Once everything is cleaned up and dry, step back and admire your work! Whether you’ve transformed an entire room or just added a new accent color, your freshly painted space will feel rejuvenated and welcoming. Take pride in the new energy and atmosphere you’ve created in your home.
Conclusion
Interior painting is a rewarding project that can dramatically enhance the look of your home. By following these simple steps—choosing the right colors, preparing the room properly, using the right tools, and applying the paint with care—you can achieve a beautiful, professional-quality result. If you prefer a hassle-free option, consider hiring professionals for flawless results that will save you time and effort.
Frequently Asked Questions (FAQs)
Q1: How do I choose the right paint color for my room?
A1: Consider the size of the room, the amount of natural light it receives, and the mood you want to create. Lighter shades can make a room feel larger, while darker colors add warmth and intimacy.
Q2: Do I need to prime the walls before painting?
A2: Priming is recommended, especially if you’re changing colors drastically, painting over stains, or working with new drywall. It helps the paint adhere better and provides an even finish.
Q3: How long should I wait between coats of paint?
A3: Allow at least 2-4 hours for the first coat to dry before applying a second coat. Drying times may vary depending on the paint type, humidity, and temperature.
Q4: Can I paint over old paint without sanding?
A4: It’s best to lightly sand the surface to ensure proper adhesion, especially if the old paint is glossy. Sanding creates a smooth surface and allows the new paint to stick better.
Q5: How can I avoid streaks when painting?
A5: Use a roller for large, flat surfaces and work in small sections. Apply paint in a “W” or “M” pattern to distribute the paint evenly and avoid streaks.